Menu

Top 6 Sharpening Tips
Hey folks, today were going to recap one of our sharpening videos "Top 6 Sharpening Tips for Beginners". If you're completely new to sharpening I'll have a "How to" video linked at the bottom of the post and encourage you to check that out first. In this post we're going to dive into a little more detail on the process to make sure you know everything you need to get your knife shaving sharp!
#1
Use a lower grit stone first. I would say that 99% of the knives that come into the shop are started on either a 200 or 320 grit stone. If you're a professional using your knives upwards of 40 hours a week, and its been weeks or months since you've had your knives sharpened or a home cook and its been months or years, your knife is probably in pretty rough shape. In order to get a very dull knife back to a sharp edge you need to remove more material than if a knife just needs a quick touch up on a medium-high grit stone. While I'm not saying it's IMPOSSIBLE to bring a dull knife back to life on a 1000 grit stone, it will take you ages. When spending an extended time to sharpen a knife you may find, especially as a beginner, that it becomes increasingly more difficult to keep a consistent angle. Without a solid foundation that is much easier to set on a faster cutting stone, you may never reach your desired goal.
#2
Take your time! Sure, the pros in the videos you've seen or maybe even in a knife shop work fast, but we've been doing this for a long time and it takes practice to build the muscle memory to keep a consistent angle and to use the whole surface of the stone effectively. Remember to start slow and practice keeping a consistent angle on the knife. It's also very easy to overshoot a stroke and leave a finger hanging between the stone and the knife for the back stroke, effectively creating a guillotine for your favorite finger tip.
3#
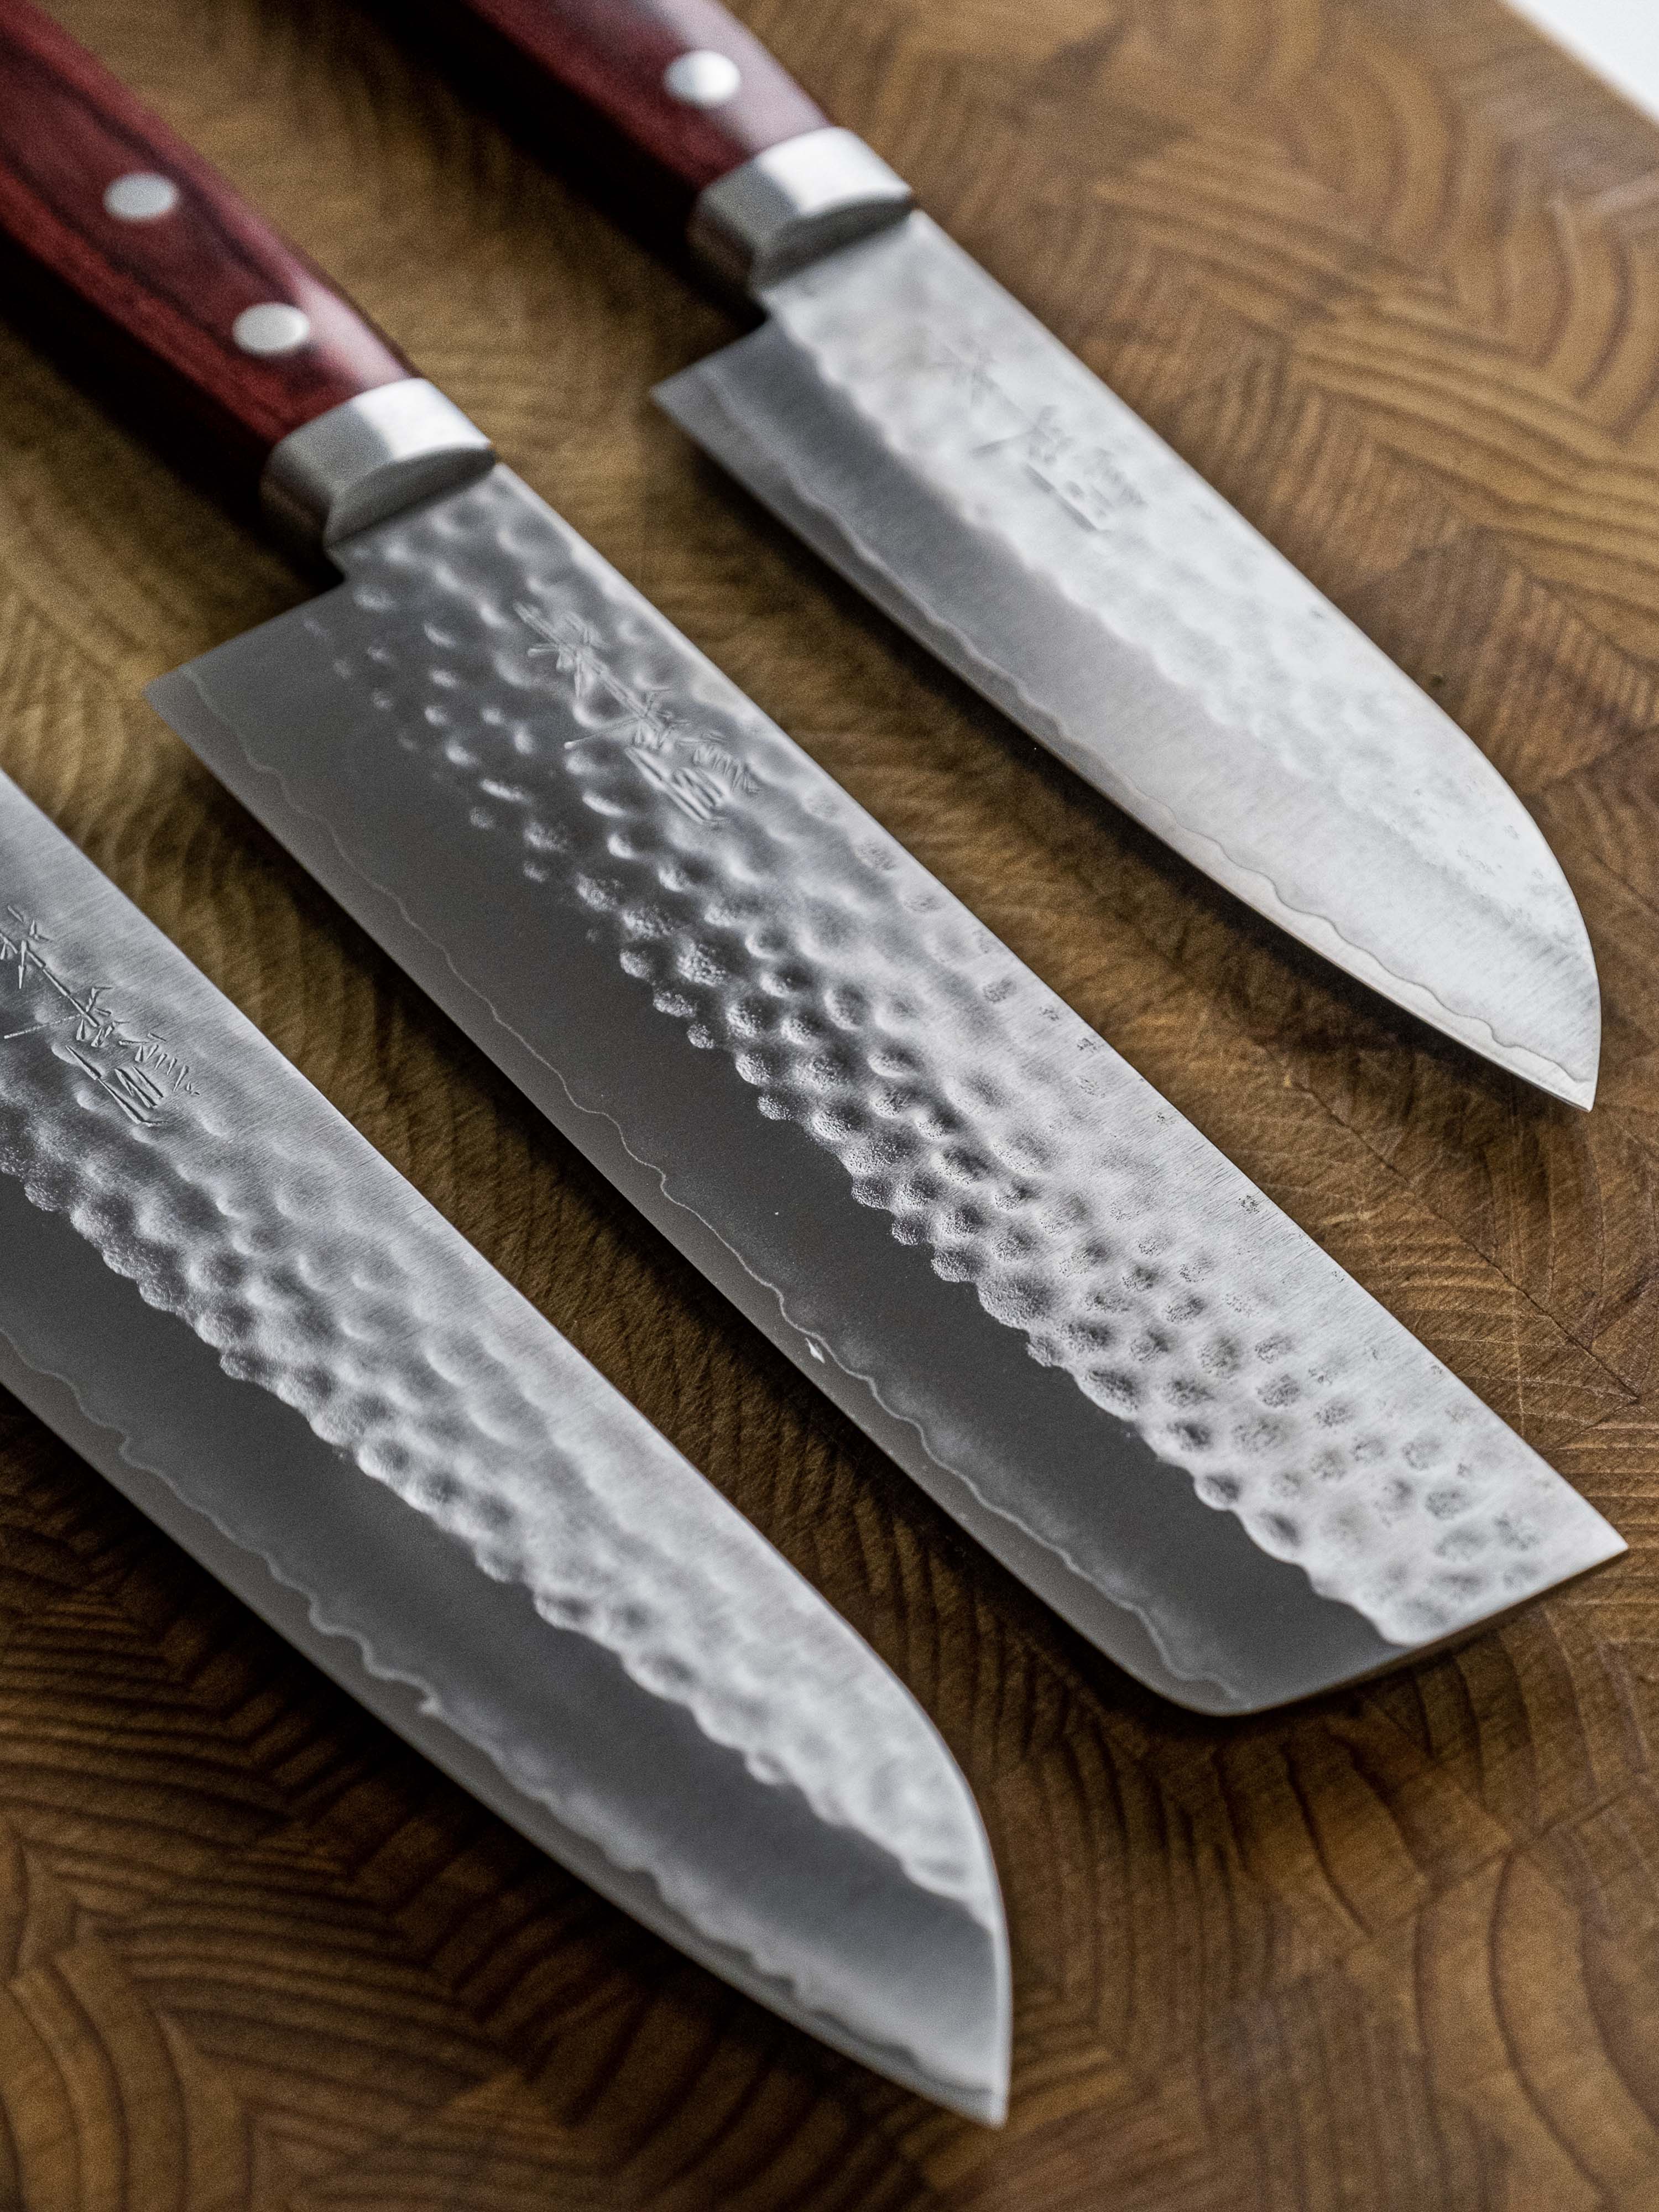
Proper formation and removal of the burr. When you sharpen you should be applying more pressure when you push the knife in the direction away from the blade. In doing so you are removing material and it will accumulate on the other side of the edge and create a burr that you can feel by running your fingernail against it (AGAINST the burr and not, I cannot stress this enough, across the burr). This is a very important step because it means you have removed enough material to move on to a higher grit stone. Be sure to form a burr the entire length of the blade, and then switch to the other side and do the same until a uniform burr has been made. Before you move onto the next grit stone you have to remove the burr. To do so perform alternating strokes from the tip to heel (Or heel to tip) pushing the knife across the stone away from the sharp end. If you have a very tricky burr to remove from a lower grit stone you can take your knife and run the length of it gently across the edge or your cutting board. When you get into the higher grit stones (5k and above) it can become difficult sometimes to feel a burr as it gets smaller in the higher grits. Try to remember how much effort you put in on the stones before and repeat the same amount of stokes on the higher grit stones as well.
#4
Use appropriate hand pressure. When sharpening through your progression of stones, you'll want to use progressively lighter pressure as you move up to the higher grit stones. This is because at the lower grits you are trying to reset a bevel and remove a lot of material,where as with the medium grits stones you're refining that bevel and removing the large deep scratches from the aggressive stones and in the higher grit stones your polishing and honing your edge. When sharpening on a low (200-400) grit stone, you should using enough pressure that the pink under your fingernails is starting to turn white and the sound should be loud and unpleasant. On a medium grit stone (700-2000) you should use about half that pressure, and on a fine grit stone (5000+) you should just be using enough pressure the keep the edge in constant contact with the stone, letting the slurry do most of the work.
#5
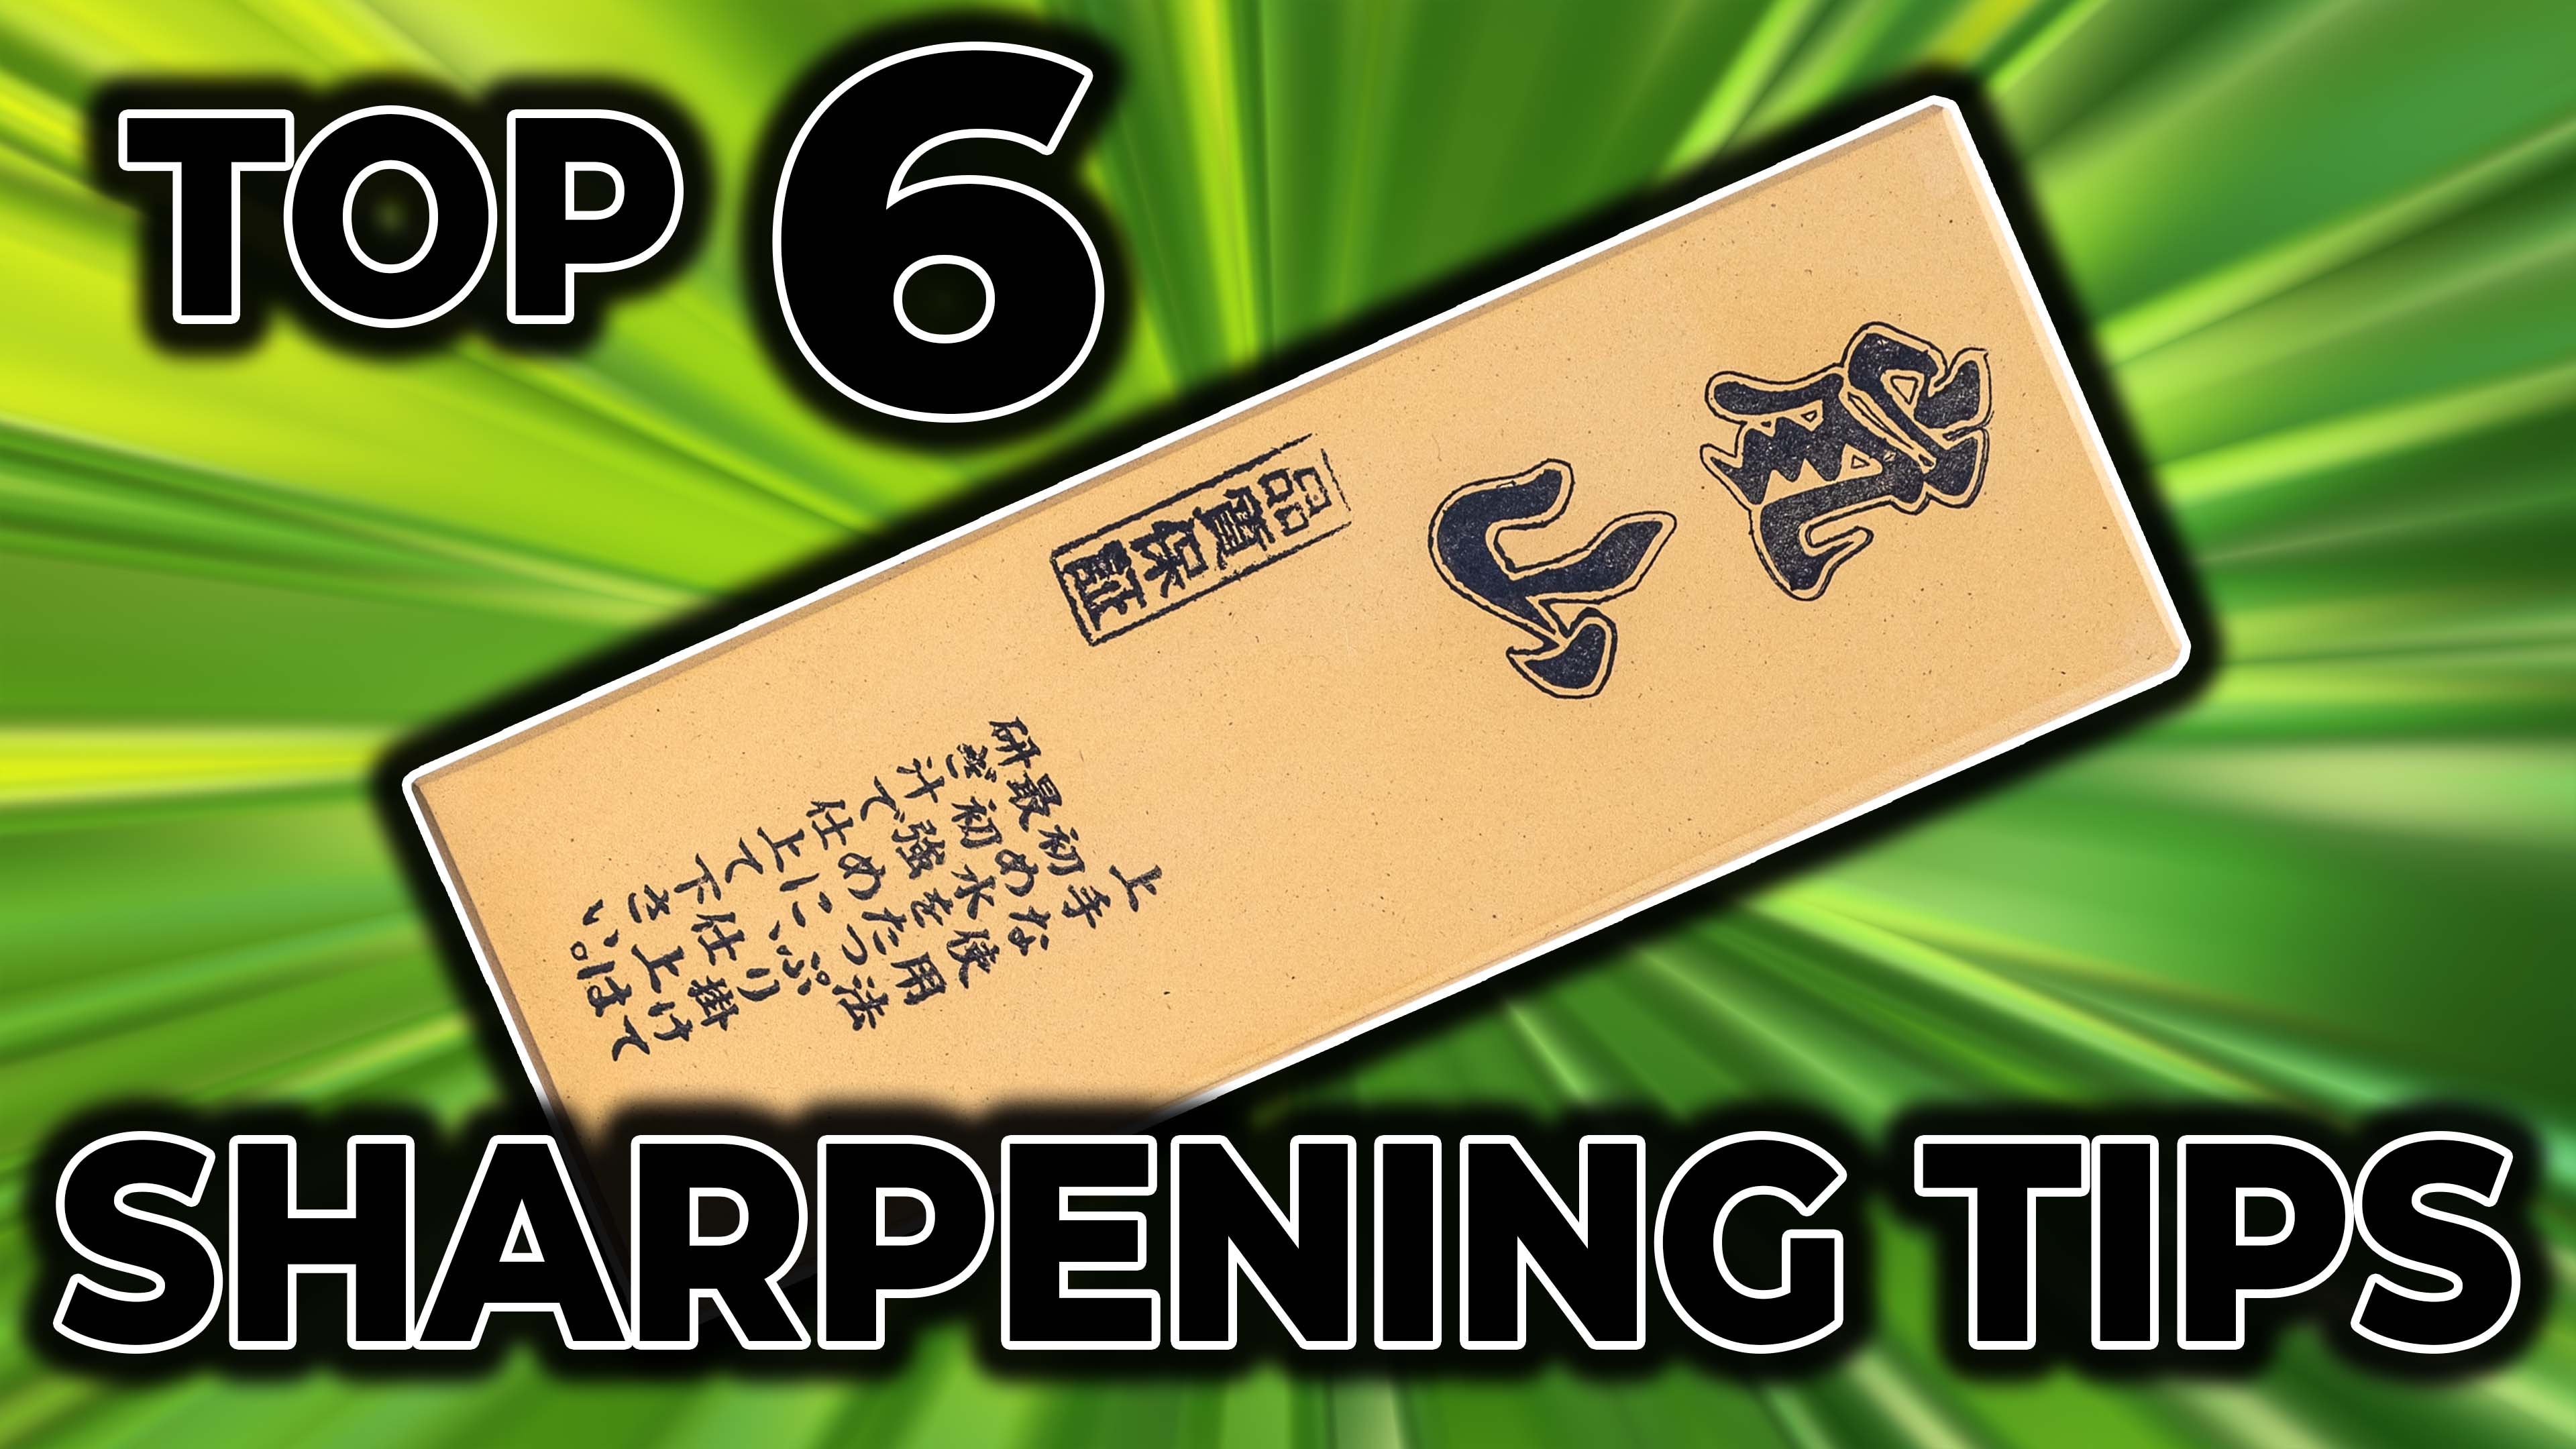
Flatten your stone. Arguably the most important step in sharpening is flattening your stone. Your stone is most likely a synthetic (Particles of ceramic bound together) and when your use them over time the particles come up, mix with the water and steel particles you're removing and create what we call a slurry. Don't worry the slurry is actually a very important factor as it helps speed up the process and also polish the edge. That being said it is impossible to use the whole stone perfectly evenly which means that there will be high spots and low spots, making it impossible to create or maintain a consistent edge. To flatten a stone we use whats called a lapping plate, or flattening stone. At the shop we use the Atoma 140 because it cuts fast and can fix a stone that's really dished out. While flattening stones like the Naniwa flattening stone are a little bit more affordable if you let your stone dish out too far, it can cause the flattening stone to wear unevenly and you can't make a flat surface with two not flat surfaces. You should be flattening your stone before each knife to make sure its flat and start a slurry, and after each knife. If you're unsure if your stone is flat, draw a grid pattern on it with a pencil and flatten until its all gone. Voila, flat stone!
#6
Use your whole stone! While we've already discussed that it is impossible to use the entire surface of your stone evenly, that doesn't mean that you can't use it as effectively as possible. Try to use the entire length of the stone and to not always be applying pressure the the dead center of the stone. Also, when using longer strokes you have to use less strokes over all. Meaning fewer strokes to have to keep a consistent angle on and a quicker sharpening overall.
So that's a wrap folks. Try to keep these tips in mind when sharpening and you'll get to the desired result quicker than before. Remember if its your first time sharpening to check out the video below, and as always, stay sharp!
- Choosing a selection results in a full page refresh.